
Ingredients
Method
- Creating the Omládek (Preferment): Combine the milk with the fresh yeast first, then stir in the flour. Mix until smooth, cover, and let rest until it doubles in volume and develops distinct bubbles on the surface (approx. 30–45 minutes).
- Mixing the Main Dough: Combine your bubbly omládek with the high-gluten plain flour, granulated sugar, milk, and ground cardamom. Mix thoroughly. Remember: all fat (the oil and cold, cubed butter) and salt must be incorporated only after initial ingredients are beautifully combined.
- Kneading with Patience: Knead the dough until completely smooth, highly elastic, and naturally pulls away from the sides of the bowl. Please do not add extra flour right away—let the gluten develop properly.
- The Main Fermentation: Cover your dough and let it rise until it doubles in volume (typically 1 to 1.5 hours). Focus on the visible increase in volume rather than the clock.
- Precision Shaping: Divide the dough into exact 100 g portions (yields 10 pieces). Roll each portion firmly against the counter until the surface of the dough is perfectly tight and tensioned. The buns must be distinctly round and tall to hold their shape.
- Final Proofing: Place shaped buns onto a baking sheet lined with parchment paper. Cover gently and let undergo final proofing at room temperature until beautifully puffy.
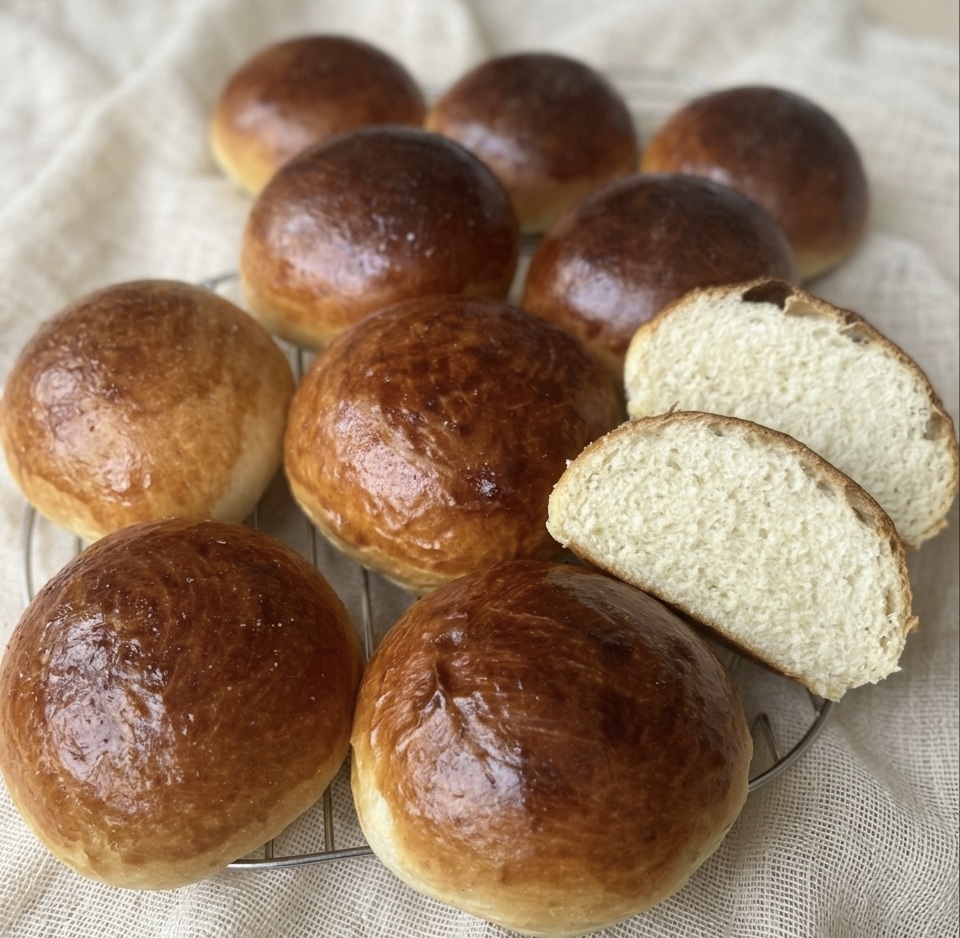
- Baking to Perfection: Preheat oven to 220–225 °C. Right before baking, brush the surface of the buns carefully with beaten egg. Bake for 10 to 12 minutes until achieving a gorgeous, deep golden-brown crust. Let cool slightly before serving.
Notes
Baking Tips for Success:
- The Importance of Omládek: Using a preferment (omládek) gives these buns an amazingly soft texture, rich flavor depth, and better shelf-life.
- Adding Fat Last: Always mix flour, milk, sugar, cardamom, and preferment first before adding salt, oil, and butter. Adding fat too early coats the gluten strands and hinders proper dough structure.
- Shaping Technique: Keep your work surface lightly oiled rather than floured. Tensioning each 100 g dough ball against the counter ensures tall, perfectly round buns that don't spread flat during baking.