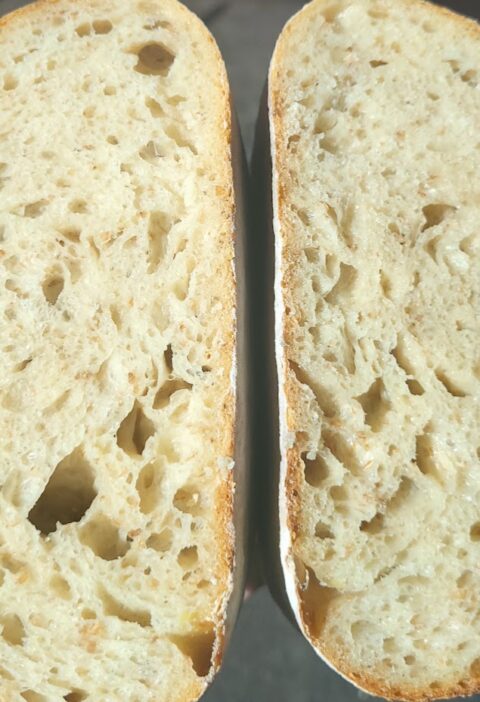
Welcome back to the digital kitchen, where honest artisan baking is taken step by step! Have you ever wondered why bakery bread tastes so much richer and more complex than a quick homemade loaf? The secret is not a magical ingredient, but rather a technique: time. Let’s explore the science of overnight proofing and how chilling the dough transforms the final bake.
Overnight Proofing: Patience That Yields Flavor
A quick, warm proofing might give you a fluffy loaf in two hours, but it leaves little time for true flavor to develop. Cold fermentation (or retardation) involves placing the dough in the refrigerator. This extended resting period builds structure, enhances digestibility, and creates a depth of flavor that a warm, fast rise simply cannot achieve.
Slowing Down the Process: What Happens at Low Temperatures?
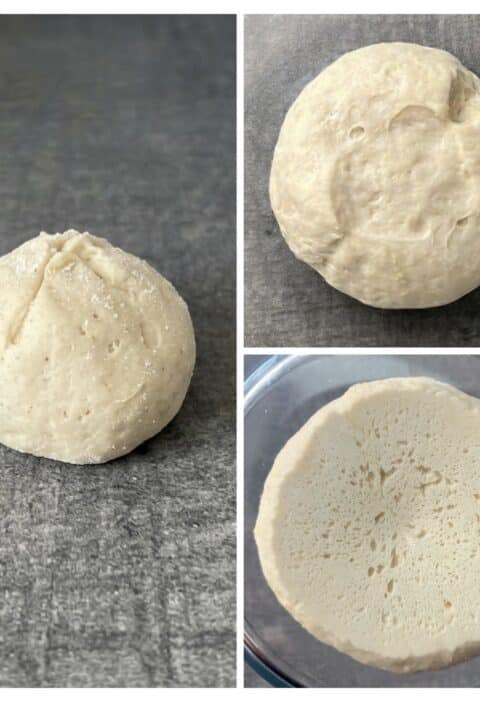
When dough enters the cold environment of a fridge, the activity of the yeast drops significantly. However, it does not stop completely! The yeast continues to produce carbon dioxide at a creeping pace, which is why the dough still gently rises overnight.
Flavor Development: The Power of Enzymes
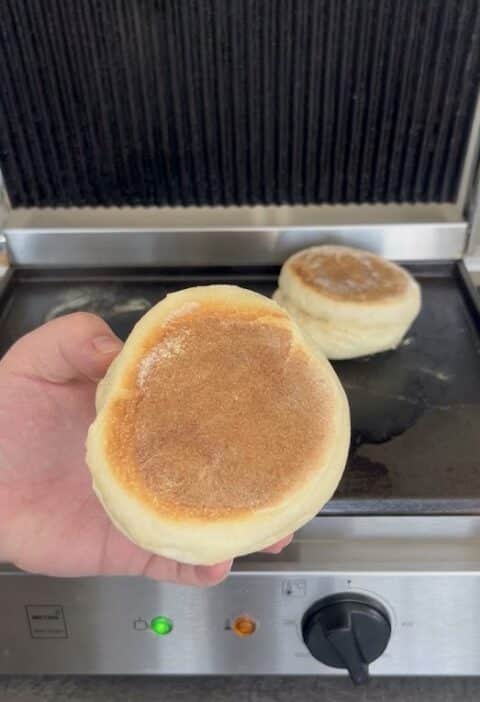
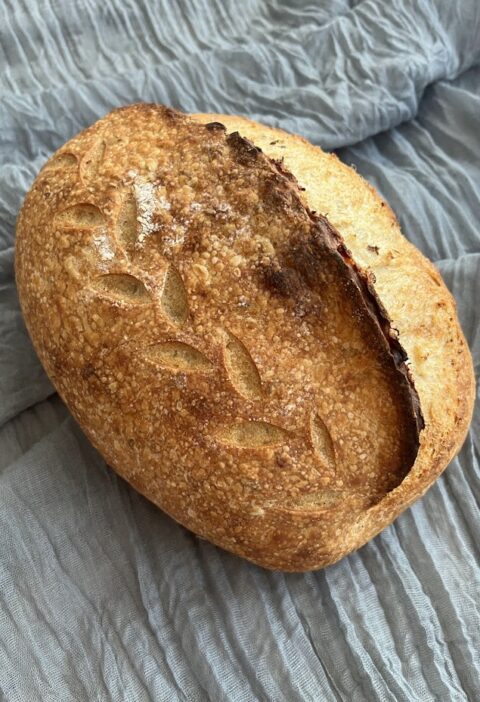
While the yeast slows down, enzymes work overtime. Over the course of 12 to 24 hours, they break down complex starches in the flour into simple sugars. This enzymatic breakdown deepens the flavor profile and fuels intense caramelization in the oven, giving the final pastry a gorgeously dark, mahogany crust.
The Golden Rule: Converting Any Recipe (The Omládek Logic)
One of the best-kept baking secrets is that any standard yeast recipe can be converted to a cold overnight proofing method. The logic for calculating the yeast amount is exactly the same as when building a traditional Czech omládek (preferment). Because the yeast has 12 to 14 hours to multiply and work, you do not need a massive dose. By reducing the fresh yeast to a fraction, you prevent the dough from over-fermenting in the fridge while avoiding any harsh yeasty aftertaste. (Tip: You can easily calculate the exact amount of yeast for your cold-proofed dough using the Omládek Preferment Calculator).
Flexibility for Bakers: Two Approaches to Cold Proofing
Cold fermentation is not just about flavor; it provides great flexibility for planning fresh morning pastries. Here is how to approach it correctly based on your baking schedule:
- Bulk Fermentation (Cold First Rise): When placing the entire mixed dough into the fridge, there is absolutely no need to let it rest at room temperature first to “kickstart” the yeast. The friction from kneading warms the dough sufficiently, meaning it will only slowly cool down once inside the fridge. (Note: Letting dough kickstart at room temperature only makes sense for sourdough, where wild yeast activity is less predictable).
- Shaped Proofing (Cold Final Rise): If you want to shape the buns or loaves first and then cold-proof them, it is highly recommended to build the dough using an omládek (preferment). If you skip the omládek, you will be waiting a very long time for the first proofing phase before you can even begin shaping the dough.
Putting Theory into Practice: Overnight Kanelboller
Ready to test the magic of cold bulk fermentation? The ultimate Norwegian Kanelboller (cinnamon buns) are the perfect place to start. For this incredibly soft dough, the preferment is skipped entirely. Instead, all the ingredients are mixed at once, and the entire dough goes straight into the fridge for a cold first rise overnight. It is simple, delicious, and deeply flavorful.
👉 Bake the Overnight Norwegian Kanelboller
Enjoyed this baking deep-dive? Join our Bakeklubb for monthly artisan baking notes and early access to upcoming workshops.