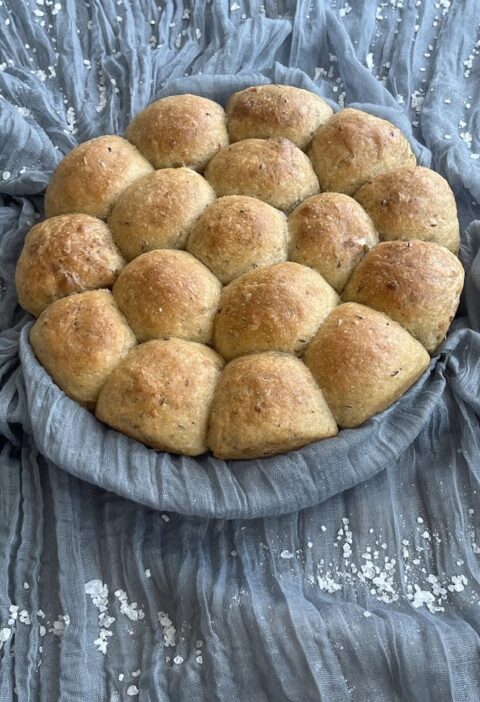
Baking the Perfect Norwegian Horn med Ost og Skinke
Upgrade your lunchbox or weekend breakfast with these savory Norwegian crescent rolls. Authentic Horn med Ost og Skinke are incredibly soft and filled with gooey melted cheese. Using a reliable omládek (preferment) guarantees a perfectly tender dough. Looking for more great everyday baking ideas? Classic Toast Bread makes the absolute perfect sandwich.
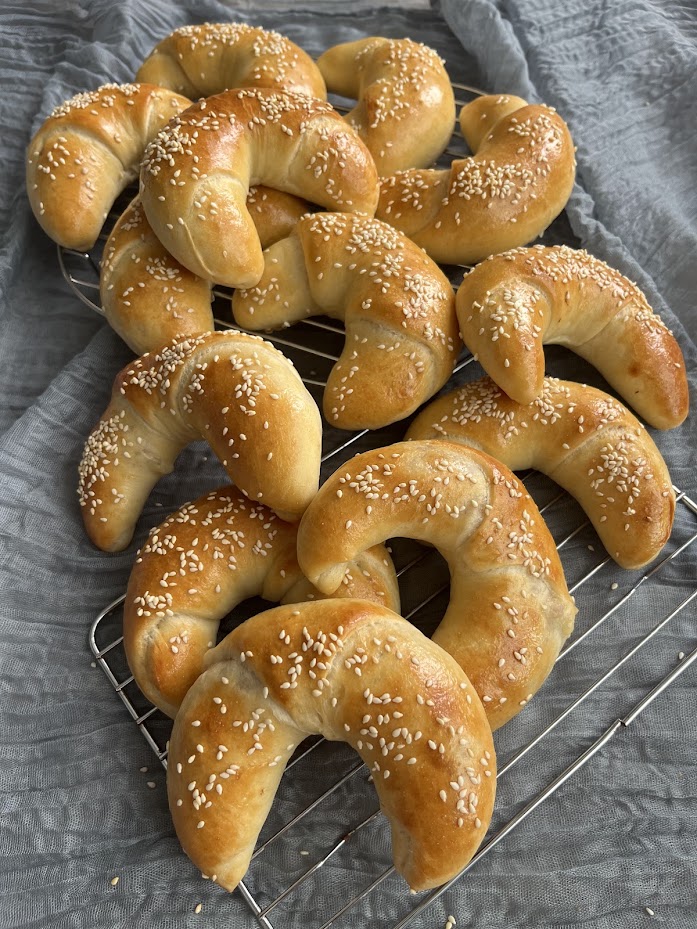

Horn med Ost og Skinke
There is something deeply satisfying about mastering classic Norwegian gjærbakst (yeast baking) with the foundational techniques of honest, artisan bread making. These Horn med Ost og Skinke are an iconic staple in Norway—perfect for lunches, road trips, or hiking snacks. In my kitchen, I apply our strict baking rules to this beloved classic: we start with a vigorous preferment, and we only introduce cold, diced butter and salt at the very end of our kneading process. The result? Unbelievably soft, fluffy, and structured dough that holds its shape flawlessly. To ensure every single crescent is perfect, I have included my specific tips for shaping and filling below.
Ingredients
Method
- The Preferment (Omládek): First, pour the lukewarm water into your mixing bowl. Add the yeast and whisk until completely dissolved. Once the yeast is dissolved in the water, add the 150 g of flour and mix until a smooth, thick batter forms. Cover the bowl and leave it in a warm place for 30–45 minutes, until it doubles in volume and produces large, active bubbles on the surface.
- Mixing the Main Dough: To the active preferment, add the lukewarm milk, the remaining 450 g of flour, and the sugar. Begin kneading on low speed (or by hand) until the ingredients come together into a rough, cohesive dough.
- Incorporating Salt and Cold Butter: Once the basic dough is mixed, it is time for the crucial step. Add the salt and the cold, diced butter to the bowl. Knead on medium speed for several minutes. Do not rush this process. Knead continuously until the cold butter is fully incorporated, the dough becomes highly elastic, and it pulls cleanly away from the sides of the bowl.
- First Fermentation: Form the smooth dough into a round boule, place it back into the bowl, cover it, and let it rise at room temperature for 60–90 minutes, or until the dough has doubled in size.
- Dividing & Shaping: Turn the risen dough out onto a lightly floured work surface. Following my uniformity tip, divide the dough into 16 equal portions by weight. Roll each piece into an elongated triangle (approx. 20 cm long). Place a generous tablespoon of the coarsely grated ham and grated cheese at the wide base of the triangle. Roll the dough tightly from the wide base toward the tip. Ensure the tip is tucked firmly underneath the crescent when placed on the parchment-lined baking tray to prevent unrolling during baking.
- Final Proofing & Baking: Cover the shaped crescents and let them proof for another 30–45 minutes until visibly puffed. Preheat your oven to 200°C (392°F). Gently brush the crescents with beaten egg wash and top with sesame seeds or extra cheese if desired. Bake for 12–15 minutes until they achieve a deep golden-brown crust. Transfer to a wire rack to cool.
Notes
Pro Tips for Perfection
- Perfect Uniformity by Weight: Normally, Norwegians divide the dough into two halves, roll each into a large circle, and slice them into 8 pizza wedges. While traditional, this method often yields unevenly sized rolls. My tip: If you want your crescents to be absolutely identical in size, weigh your entire finished dough batch and divide it evenly into 16 individual pieces (approx. 55-60 g each). Shape each piece into a small ball, let them rest briefly, and then roll each ball into an elongated triangle individually.
- Coarsely Grated Ham is Essential: Do not use whole, flat slices of ham. My tip: Buy a high-quality block of ham and coarsely grate or shred it yourself. Grated ham mixes evenly with the grated cheese, prevents large empty air pockets from forming during baking, and ensures the layers stay tightly bound together without the filling slipping out when you bite into it.
- The Secret to Perfect Dough: We start with a vigorous preferment, and we only introduce cold, diced butter and salt at the very end of our kneading process. The result? Unbelievably soft, fluffy, and structured dough that holds its shape flawlessly.
Enjoyed this baking deep-dive? Join our Bakeklubb for monthly artisan baking notes and early access to upcoming workshops.