Creating the Ultimate No-Churn Hibiscus Ice Cream at Home
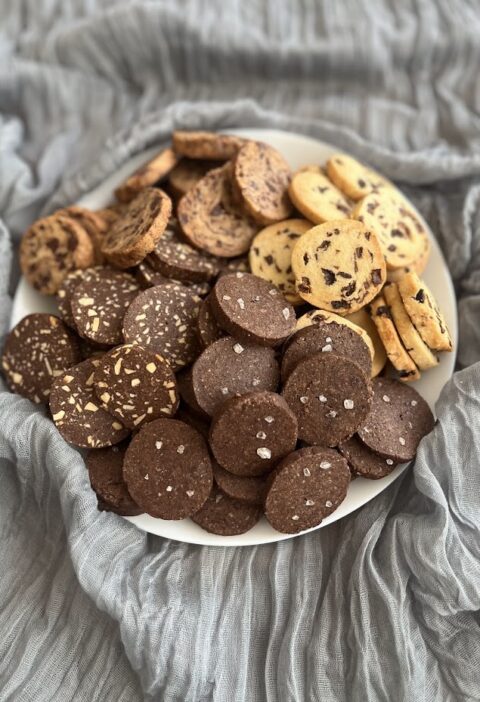
Craving a refreshing dessert without the hassle of special equipment? This vibrant No-Churn Hibiscus Ice Cream is beautifully tart, sweet, and bursting with floral notes. With its stunning pink hue and ultra-creamy texture, it is the perfect elegant treat to cool down your summer afternoons. Serve it in a bowl with a couple of our crisp, classic Butter Cookies on the side.
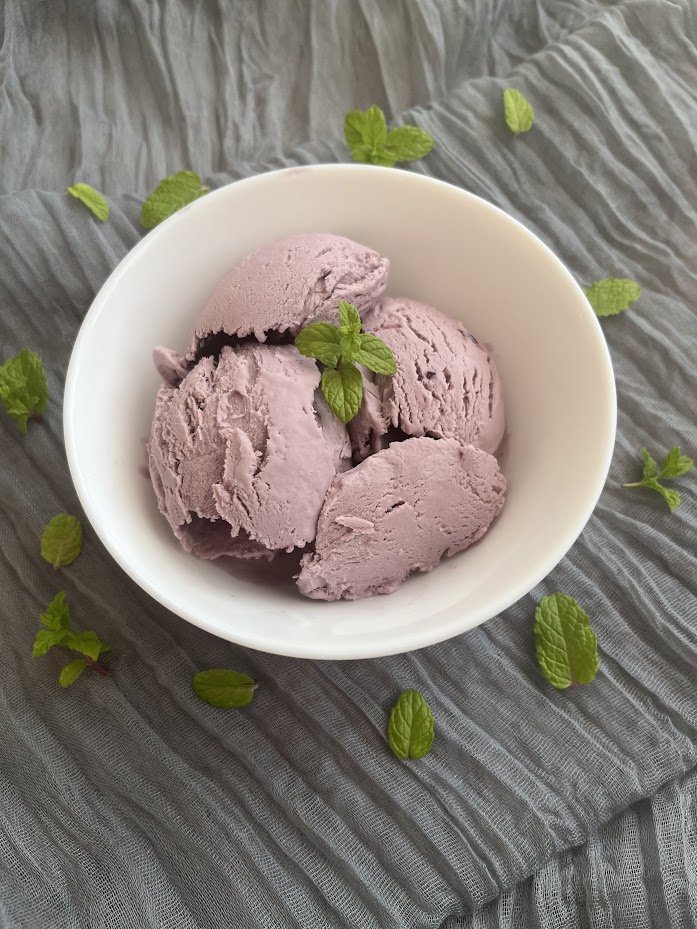

Hibiscus Ice Cream
Welcome to Home-Made Magic: Welcome to a space where honest ingredients meet home-made magic. Today, I am stepping slightly away from the oven to share an incredibly refreshing summer treat that requires zero special equipment. If you watch the recipe video, you will see me wrestling to squeeze the heavy cream out of the steeped flowers. Hibiscus acts like a sponge! To save you from this hassle, I have added a practical trick: diluting the steeping cream with a splash of whole milk.Health Fact (The Power of Hibiscus): Hibiscus is not just a beautiful flower; it is an absolute powerhouse of health benefits. It is packed with antioxidants, known to help lower blood pressure, and supports a healthy liver.
Ingredients
Method
- Steeping the Flavor: Pour approximately 150 g of the heavy cream and 100 g of the whole milk into a saucepan, add the dried hibiscus, warm it up, and let it steep for 15 minutes.
- Straining and Chilling: Strain the mixture thoroughly to remove the flowers, then let the infused cream cool completely in the refrigerator.
- Mixing the Base: Once chilled, mix the hibiscus cream with the sweetened condensed milk until well combined.
- Whipping and Folding: Whip the remaining heavy cream into stiff peaks and gently fold it into the hibiscus base using a spatula. Work carefully to keep the air in the mixture.
- Freezing: You can pour the mixture into an ice cream maker for the maximum time, but this step can be skipped entirely. Simply place it in a container and freeze for 6 to 8 hours. There is no need to stir it during the freezing process!
Notes
Baking Chemistry Fact (Why You Don’t Need an Ice Cream Maker): The best thing about this ice cream is that you do not need an ice cream maker! But how does it stay smooth without churning? It comes down to kitchen chemistry. Sweetened condensed milk has a very high sugar content and syrupy texture, which lowers the freezing point and naturally prevents large, hard ice crystals from forming. By whipping the remaining heavy cream and gently folding it in, we manually introduce trapped air. And here is the visual magic: the reaction between the tart hibiscus and the sweetened condensed milk gives this ice cream a stunning, vibrant purple color!
Enjoyed this baking deep-dive? Join our Bakeklubb for monthly artisan baking notes and early access to upcoming workshops.