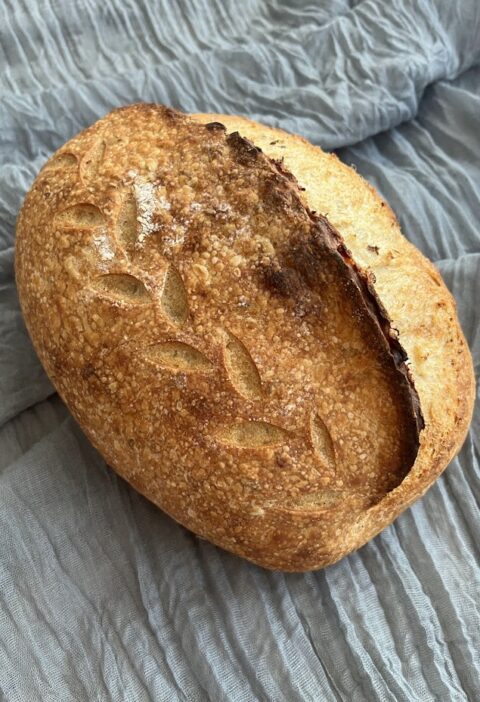
Master the art of wholesome, hearty baking with this rustic 100% Rye Sourdough Bread. Packed with deep, earthy flavors and a dense, satisfying crumb, this loaf is a staple in Northern and Central Europe. It requires patience and an active sourdough starter, but the deeply rewarding flavor is worth every single step. For the ultimate rustic feast, enjoy a slice with a rich spread and some of our Savory Pork Crackling Buns on the side.
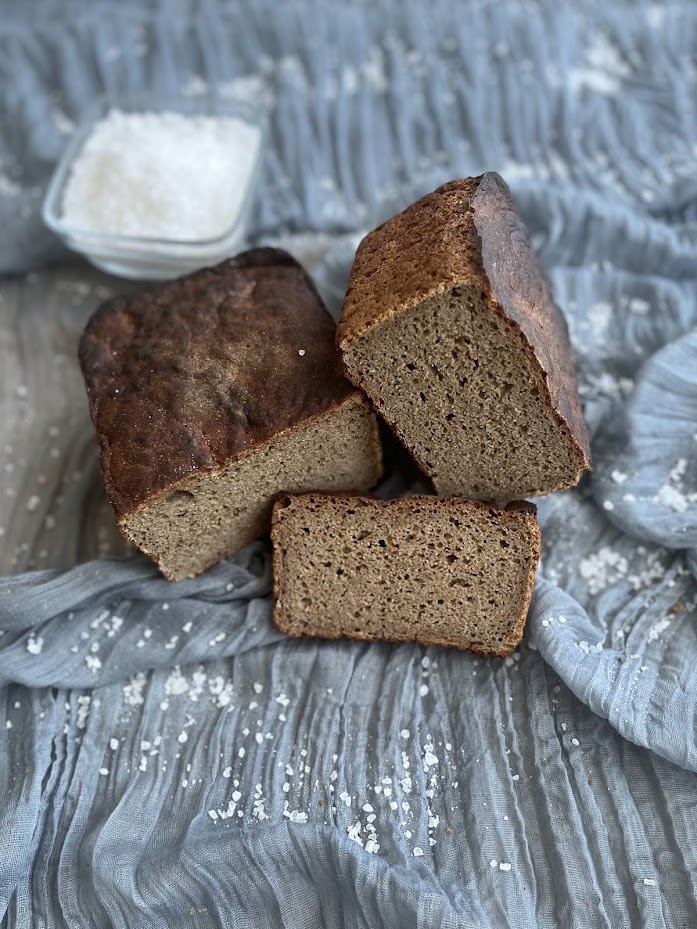

100% Traditional Rye Sourdough Bread 🌾
Welcome to Artisan Baking: Do you love the earthy, deep aroma of freshly baked rye bread filling your kitchen? Today, I am sharing my tried-and-true recipe for a 100% rye sourdough loaf. It is an absolute staple in the Czech baking tradition, and its rich, dense crumb is something you will easily fall in love with.A Bite of History: Did you know that rye was originally considered a weed growing in ancient wheat fields in Asia Minor? As agriculture spread north, farmers realized that while wheat failed in the freezing climates, rye thrived. It quickly became the resilient backbone of traditional diets across Scandinavia, Russia, and Central Europe.
Ingredients
Method
- The First Preferment: Mix your active rye sourdough starter with 70 g of water and 70 g of rye bread flour. Mix well, cover, and let it ferment at room temperature for 10 to 12 hours. You will end up with about 150 g of a pleasantly sour-smelling, active starter.
- The Second Preferment: First, dissolve the flat teaspoon of cane molasses into the 150 g of water. Combine this liquid with your ripe starter from step one, and add 150 g of rye bread flour. Mix thoroughly, cover, and let it ferment until it increases in volume and regains a slightly sour aroma. This usually takes 2 to 4 hours.
- Mixing the Main Dough: Add the 320 g of water, 450 g of rye bread flour, salt, and caraway seeds to your active preferment. These doughs should be mixed just until combined.
- Panning and Proofing: Generously grease a bread pan (just under 30 cm long) with butter or lard. Transfer your mixed dough into the pan, smoothing the top with your wet glove. Cover tightly with oiled cling film and let it proof. Depending on the room temperature, this takes 1 to 3 hours. The loaf is ready when the volume has visibly increased and tiny bubbles appear on the surface.
- Cold-Oven Baking: Brush the surface of the risen loaf gently with water and sprinkle with seeds if desired. Place the pan onto a baking sheet and slide it directly into a cold oven. Turn the oven on to 210–220 °C. Bake for 40 minutes (starting from the moment the oven reaches its target temperature).
- The Flip and Final Bake: After 40 minutes, carefully flip the bread out of the pan directly onto the hot baking sheet. Bake for another 20 minutes to develop a robust crust. Because rye dough is dense and sticky, a simple skewer test is not enough. The internal temperature in the absolute center of the crumb must reach at least 97 °C (ideally between 96 and 98 °C).
- The Ultimate Test of Patience: Transfer the bread to a wire cooling rack. Step away and let it rest for at least 12 hours before making your first slice.
Notes
- Baking Chemistry Fact (Why Rye Demands a Gentle Hand): Rye flour contains very little gluten-forming protein. Instead, it is rich in pentosans (soluble dietary fibers called arabinoxylans) that absorb massive amounts of water and form a sticky mucilage rather than an elastic network. Because high-rye doughs lack strong gluten proteins, long or aggressive kneading does not build strength; instead, it breaks down what little structure exists and damages the pentosan gel, resulting in a sticky, unmanageable mess.
- The 12-Hour Rule (Why You Must Wait to Cut Your Loaf): The most difficult part of baking 100% rye bread is not the preparation, but the wait! You must absolutely wait a minimum of 12 hours before cutting into the baked loaf. When you pull the bread from the oven, the internal starches and pentosans are still highly gelatinized and gummy. The bread is essentially still “baking” and stabilizing as it cools. If you slice it while it is warm or even lukewarm, the crumb will tear, clump together, and feel sticky and underbaked. Give it time to set perfectly.
- Baker’s Secret (The Wet Glove Trick): Because rye dough is incredibly sticky and we want to avoid over-mixing it, the best way to combine these ingredients is by hand. Put on a clean rubber or nitrile kitchen glove and wet it under the tap. The wet glove prevents the dense dough from sticking to your hand, allowing you to rapidly and efficiently mix the ingredients until just combined.
Enjoyed this baking deep-dive? Join our Bakeklubb for monthly artisan baking notes and early access to upcoming workshops.